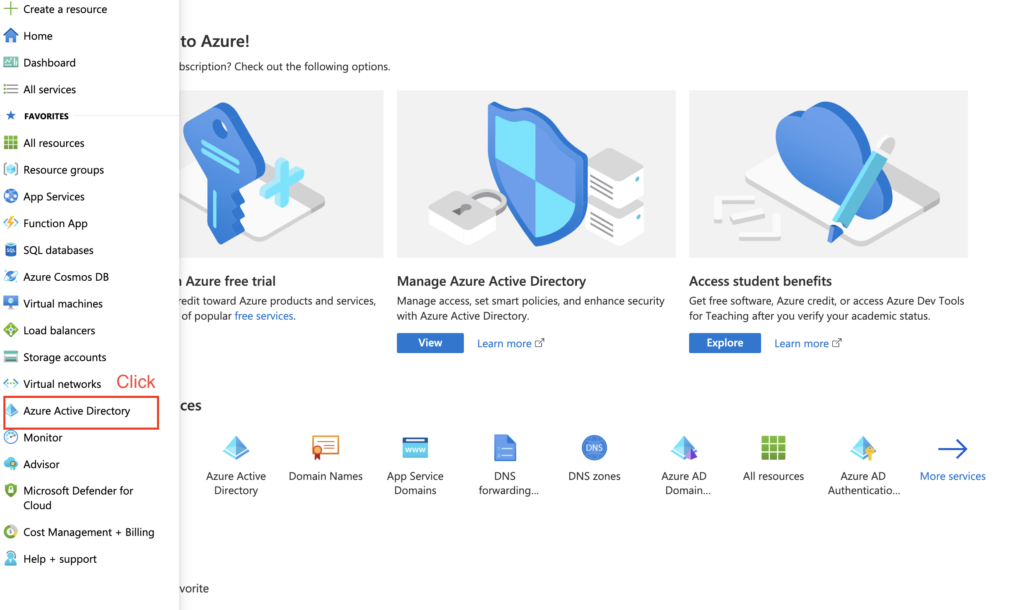
Navigate to the Azure portal and go to Azure Active Directory.
Step 2
In Azure Active Directory, go to App registrations.
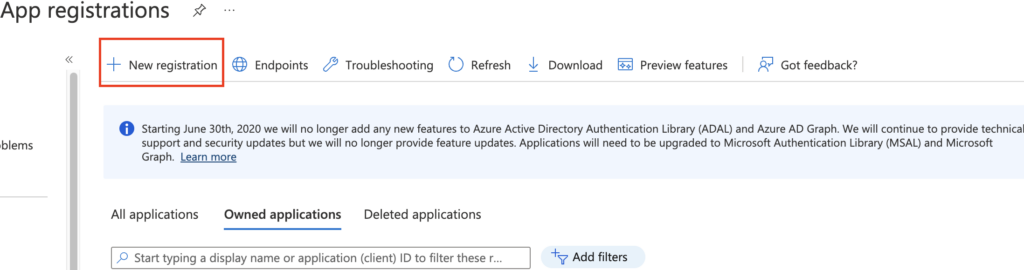
Step 3
Click on “New registration.”
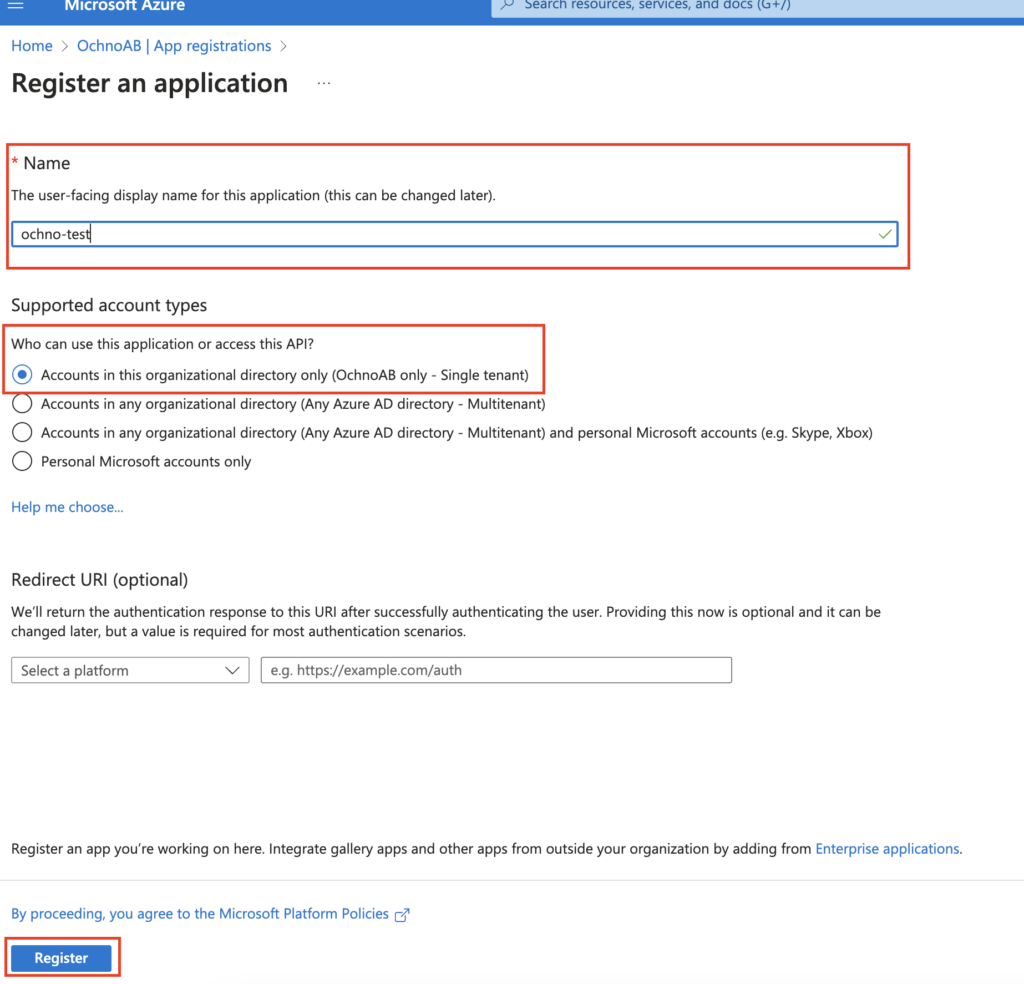
Step 4
Fill in the name -> check “Single tenant” -> Register.
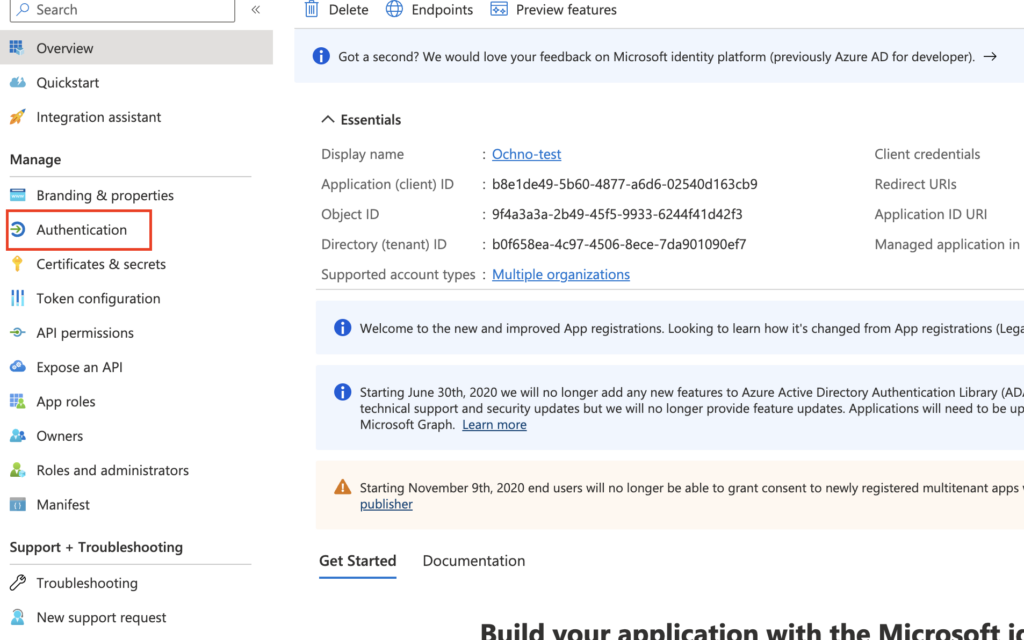
Step 5
On the App page, navigate to “Authentication.”
Step 6
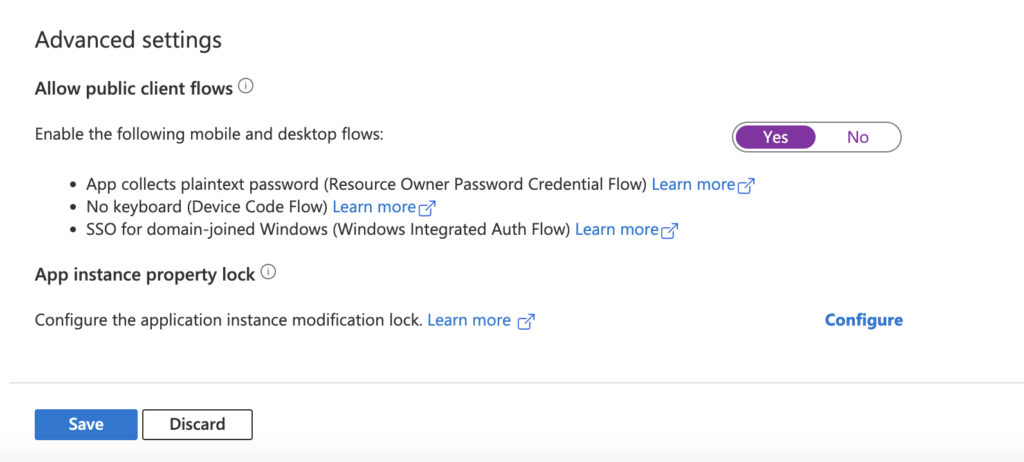
Scroll down to Advanced settings.
Set “Allow public client flows” to “yes,” then click “save” (the application uses Device Code Flow).
Step 7
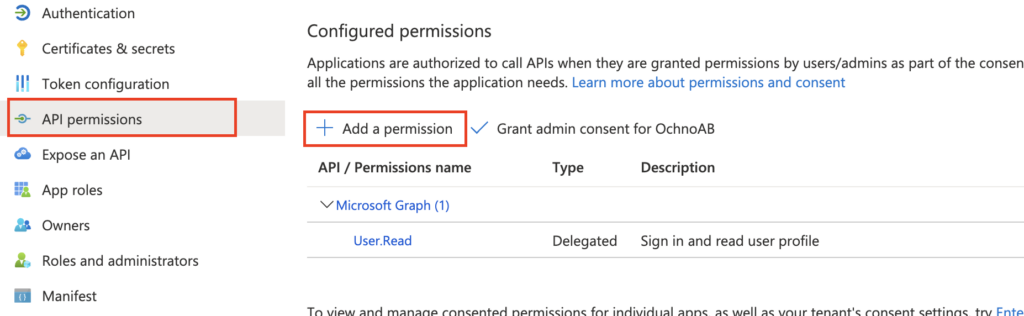
Navigate to “API permissions” and click “Add a permission.”
Step 8
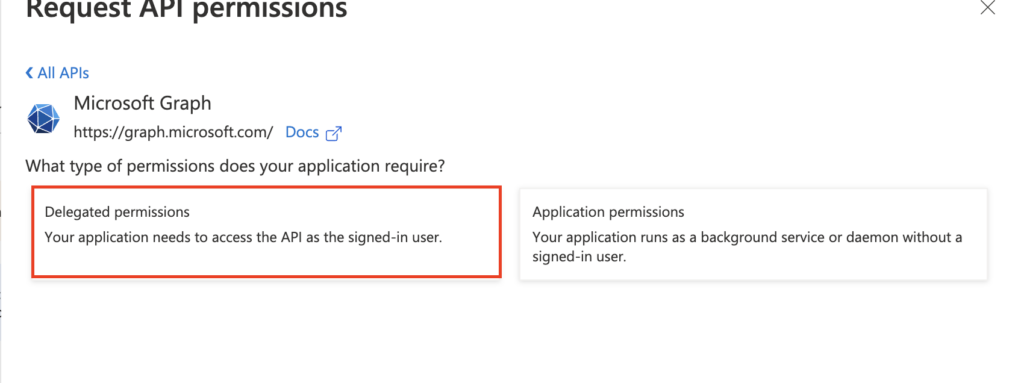
Click “Microsoft Graph.”
Step 9
Choose “Delegated permissions.”
Step 10
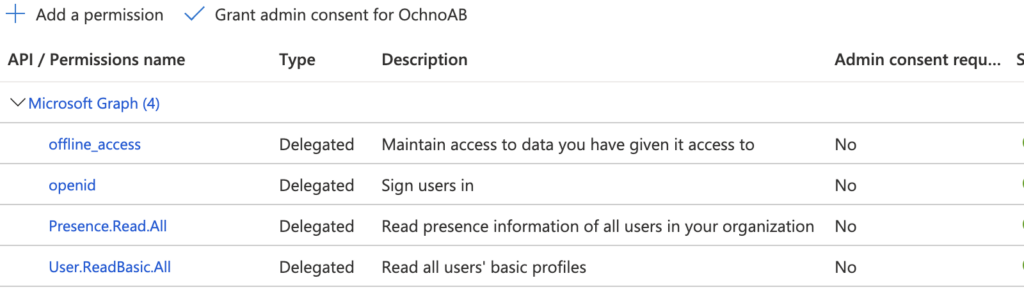
Search and select permissions so that the following permissions are chosen: offline_access, openid, Presence.Read.All, and User.ReadBasic.All.
Step 11
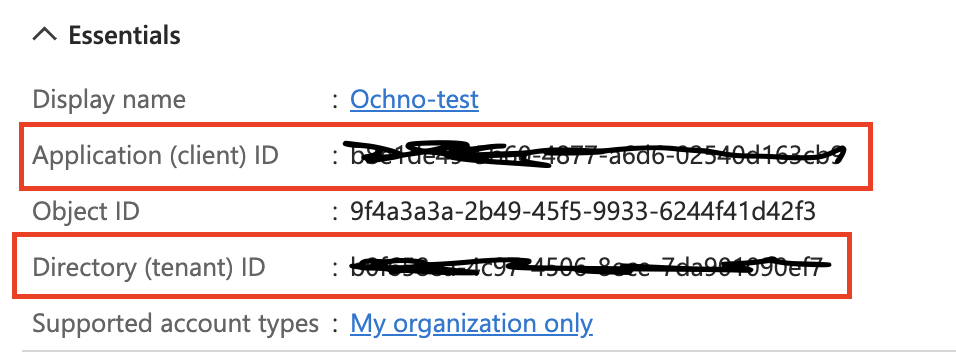
Navigate back to the overview (“Overview”), under essentials find “Application (client) ID.”
This is used for the MTR service to access the application to retrieve status changes from your MTR profiles. Also, find Directory (tenant) ID, which is needed when the application is set as single-tenant.
In Ochno Operated
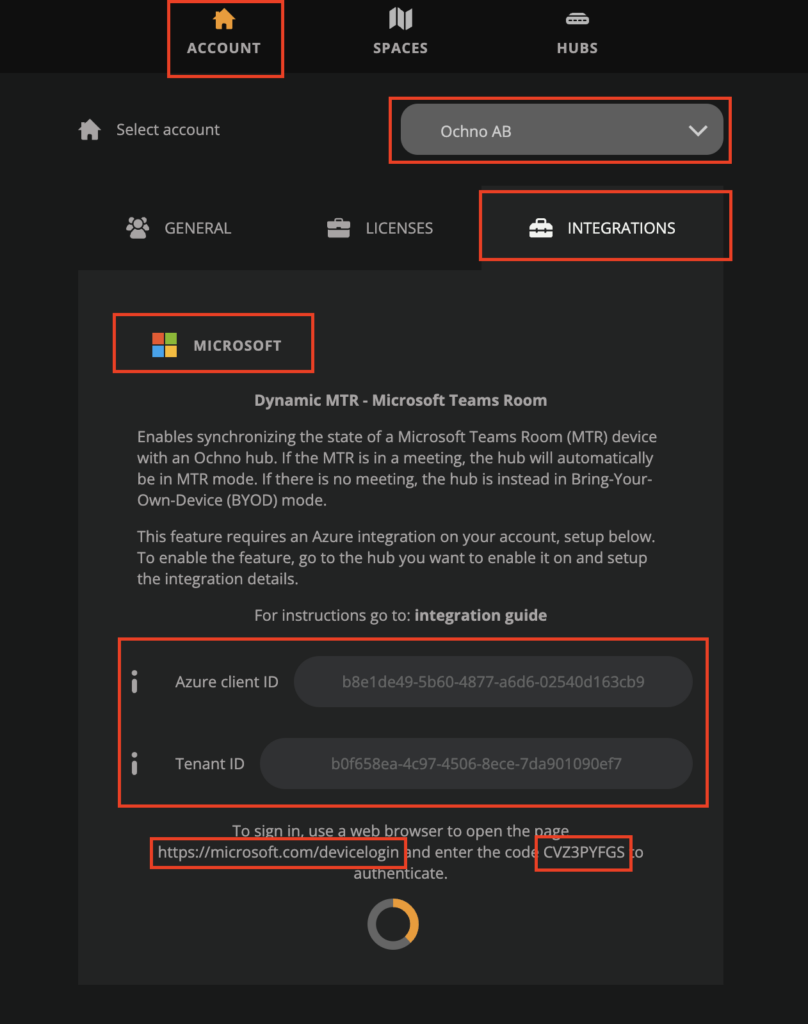
Log in to operated.ochno.com, go to Account, then select the relevant account under “Select account.” Click on Integrations, and under Microsoft, add your “Azure client ID” and “Tenant ID.”
Click Activate; a message should be generated with a URL to https://microsoft.com/devicelogin and a code to be used to activate the integration.